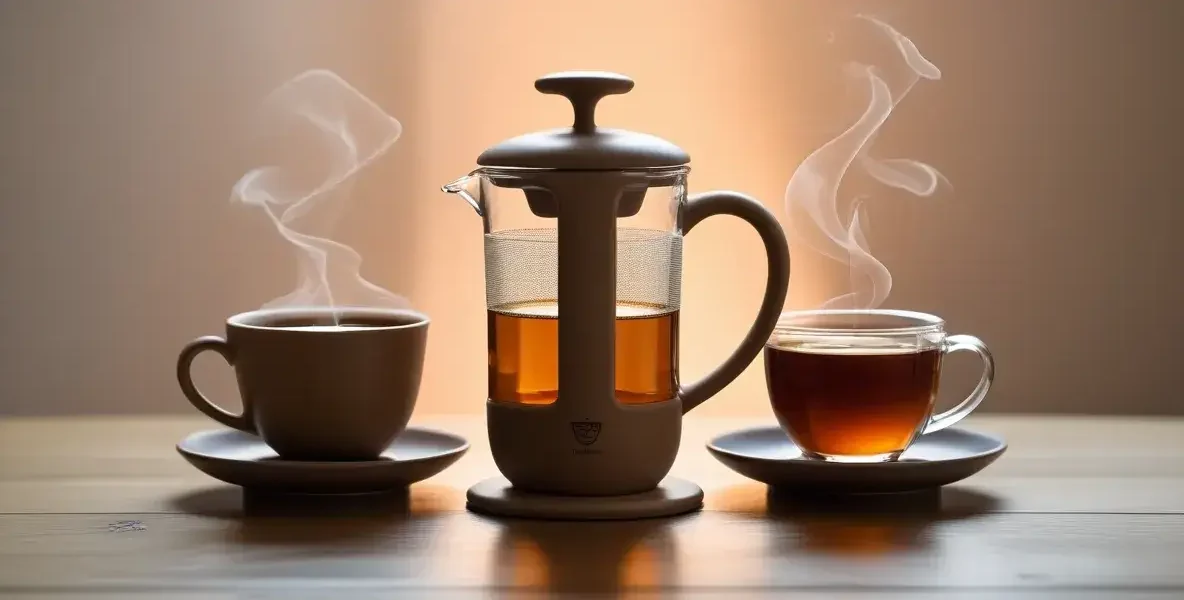
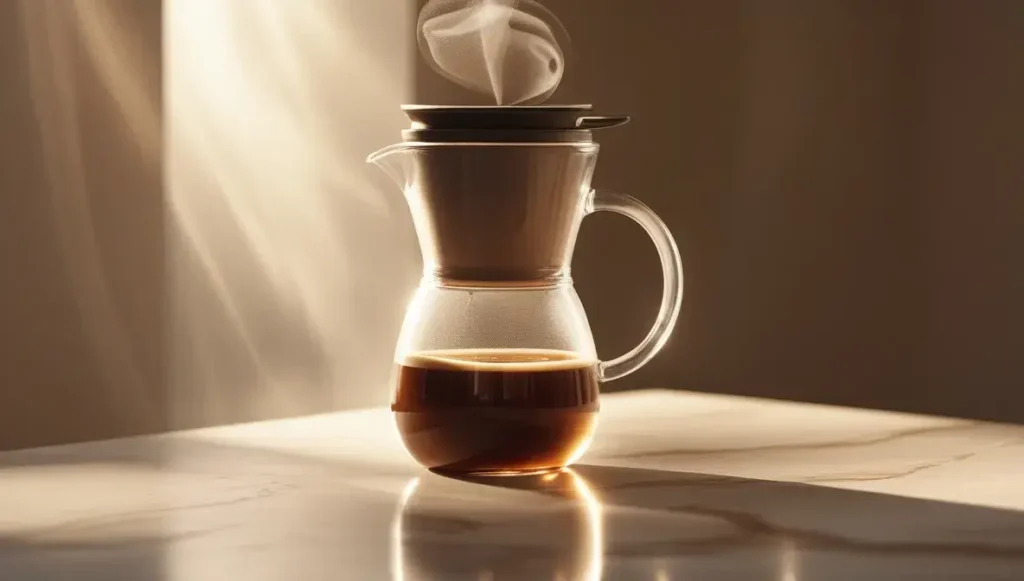
So, you’ve got a 350ml plunger and you’re ready to make some seriously good coffee or tea. It’s not as complicated as it looks, really. This little gadget is pretty neat for brewing a single cup or maybe two, and it’s great for getting that full flavor. We’ll walk through how to use your brew tea coffee plunger 350ml to get the best results, whether you’re a coffee fanatic or a tea lover. Let’s get brewing!
Key Takeaways
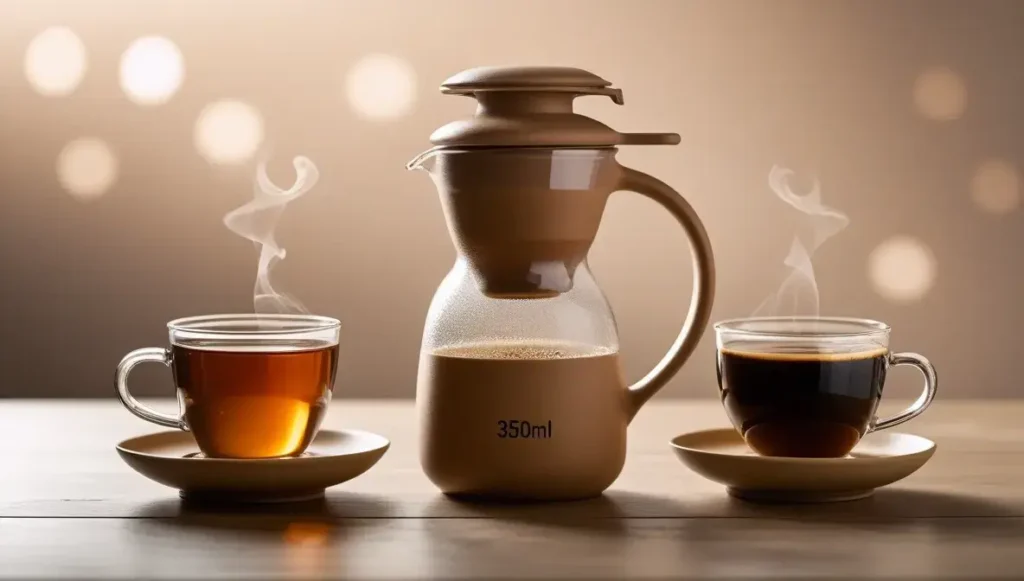
A 350ml plunger is ideal for brewing one to two servings of coffee or tea, offering a personal brewing experience.
For coffee, use a medium-coarse grind and a water temperature around 95-98°C, letting it brew for about 4 minutes.
When brewing tea, add loose-leaf tea to the plunger, use the correct water temperature for your tea type, and steep for the recommended time.
Always preheat your plunger with hot water before adding coffee or tea grounds to maintain brew temperature.
After brewing, plunge gently and serve immediately to avoid over-extraction and bitter flavors.
Understanding Your 350ml Plunger
So, you’ve got yourself a 350ml plunger, a neat little gadget for making coffee. It’s a pretty straightforward tool, really. Think of it as a fancy teapot for coffee. The basic idea behind a plunger coffee maker, often called a French press, is simple: you steep coffee grounds in hot water, then push a plunger down to separate the grounds from the liquid.
This method is known as ‘full immersion’ brewing. It means the coffee and water hang out together for the whole brew time, which is different from methods where water just drips through. This extended contact is what gives plunger coffee its signature rich, full-bodied taste. The metal filter lets some coffee oils and tiny particles through, adding to that bolder flavor and heavier feel in your mouth. It’s a popular way to brew because it’s easy and makes a really satisfying cup.
What Is A Plunger Coffee Maker?
A plunger coffee maker, or French press, is a brewing device consisting of a cylindrical pot, usually made of glass, with a lid that has a plunger attached. This plunger has a fine metal mesh filter at the end. To make coffee, you put coffee grounds and hot water into the pot, let it steep for a few minutes, and then press the plunger down.
This action pushes the coffee grounds to the bottom of the pot, leaving the brewed coffee above, ready to be poured. It’s a simple, direct way to brew coffee that lets you control a lot of the variables.
Choosing The Right Plunger Size
When you’re looking at plungers, size really matters depending on who you’re brewing for. A 350ml coffee maker instructions suggest this size is perfect if you’re usually just making a cup or two for yourself. It’s great because you can brew a fresh batch every time. If you often have guests or brew for a small group of 2-3 people, a slightly larger 600ml plunger might be a better fit.
For larger gatherings of 4-6 people, a 1-liter plunger is usually recommended. The beauty of the best coffee plunger 350ml is its personal scale; it’s ideal for single servings or a shared moment.
Essential Equipment For Plunger Brewing
Making coffee with a 350ml pot doesn’t require a whole lot of fancy gear. Of course, you need the coffee plunger itself. Beyond that, a kettle to heat your water is a must. For the best flavor, grinding your coffee beans just before brewing is highly recommended, so a coffee grinder is a good addition – a manual one works perfectly fine for plunger brewing.
Some people like to use a digital scale to measure their coffee and water precisely, which helps in getting the same great results every time. A timer is also handy to keep track of your brew time. So, really, it’s just the plunger, a kettle, and maybe a grinder if you’re feeling serious about your coffee.
The 350ml plunger is a fantastic choice for anyone who appreciates a fresh, flavorful cup of coffee without a lot of fuss. It’s compact, easy to use, and perfect for brewing just the right amount for one or two people. Mastering the simple steps will quickly make this your go-to method for making coffee with a 350ml pot.
Mastering The Brew: Coffee Perfection
So, you’ve got your 350ml plunger and you’re ready to make some seriously good coffee. It’s not complicated, but there are a few things that make a big difference. Let’s talk about how to use a French press for coffee to get that rich, full-bodied flavor everyone loves.
Selecting Your Coffee Beans
Choosing the right beans is where it all starts. You can go with Arabica for a smoother, sweeter cup, or Robusta if you like it bold and strong with a good caffeine kick. Blends are a nice middle ground. For the best flavor, always go for whole beans and grind them right before you brew. It really does make a difference. If you’re buying pre-ground, just make sure it’s a good quality one.
Achieving The Ideal Grind Size
This is super important for plunger coffee. You want a coarse grind, kind of like sea salt. If it’s too fine, you’ll get a muddy cup, and it might even taste bitter because it can over-extract. Plus, plunging will be a real pain. If your coffee has too many tiny particles or is hard to press down, try making your grind a bit coarser. A burr grinder is best for getting that consistent coarse grind.
The Perfect Coffee To Water Ratio
Getting the ratio right is key to a balanced brew. A good starting point is about 60 grams of coffee for every liter of water. For your 350ml plunger, that’s roughly 21 grams of coffee. Don’t worry too much about exact measurements at first; you can adjust it to your taste. Some people prefer a bit more coffee for a stronger brew, others less. It’s all about finding what you like.
Here’s a general guide to get you started:
Plunger Size
Serving Size (approx.)
Coffee (grams)
Water (ml)
350ml
1 cup
21
350
600ml
2 cups
36
600
1L
4 cups
60
1000
Remember, these are just starting points. Feel free to experiment with the coffee-to-water ratio to find your personal preference. A little tweak can go a long way in perfecting your cup.
So, you’ve got your 350ml cafetiere, perfect for single servings, and you’re ready to make some coffee. This is where the magic happens, turning simple grounds and water into something delicious. It’s one of the most straightforward coffee and tea brewing methods out there, but a few little tricks can make a big difference. Let’s get this right.
Preheating Your Plunger
First things first, grab your cafetiere. Don’t just dump the coffee in a cold pot. Take off the lid and plunger, and fill the glass part with hot water. Swirl it around a bit to warm up the glass. This step might seem small, but it helps keep your coffee at the right temperature while it brews, stopping it from cooling down too fast. After a minute or so, just pour out that hot water. Your plunger is now ready.
Adding Coffee Grounds And Water
Now for the main event. For a 350ml plunger, a good starting point is about two heaped tablespoons of coffee grounds. If you’re weighing things, aim for around 20-25 grams. Remember, this is a guideline, and you can totally adjust it later to suit your taste. Once the grounds are in, it’s time for the water. Don’t use boiling water straight from the kettle. Let it cool for about 30 seconds to a minute. Water that’s too hot can actually scorch the coffee, making it taste bitter. You want it hot, but not aggressively so.
Pour about half of the hot water over the grounds, just enough to wet them all. Give it a gentle stir with a wooden or plastic spoon – metal can sometimes chip the glass. Let this sit for about 30 seconds. This is called the ‘bloom,’ and it lets the coffee release some of its gases. After that, pour in the rest of the hot water, filling up the plunger. Put the lid on, but don’t push the plunger down yet.
Optimal Water Temperature For Brewing
Getting the water temperature right is pretty important for good cafetiere brewing. Too hot, and you risk burning the coffee, leading to a bitter taste. Too cool, and you won’t extract enough flavor, resulting in a weak, watery cup. The sweet spot is generally between 195°F and 205°F (90°C to 96°C). If you don’t have a thermometer, just let your kettle sit for about 30-60 seconds after it boils before you pour. This simple step makes a noticeable difference in the final taste of your coffee.
Remember, the goal is to extract the best flavors from the coffee without pulling out the bitter compounds. Temperature plays a big role in this delicate balance.
Brewing Time And Plunging Technique
Alright, so you’ve got your coffee grounds in the plunger, the water’s at the right temperature – now what? This is where the magic really happens, and a little patience goes a long way. Getting the brew time and the plunge just right makes a huge difference in how your coffee tastes.
Ideal Brewing Duration
Most folks aim for about four minutes for their coffee to steep. Think of it as giving the coffee grounds enough time to really get friendly with the hot water and release all their good stuff. If you like your coffee a bit stronger and with more body, you can let it sit for a little longer, maybe an extra minute or two. On the flip side, if you prefer a lighter cup, you can shave off 30 seconds to a minute. It’s all about finding what tastes best to you, so don’t be afraid to experiment a bit.
Here’s a quick guide:
4 Minutes: A solid starting point for a balanced cup.
5-6 Minutes: For a bolder, more intense flavor.
3-3.5 Minutes: If you prefer a lighter, more delicate brew.
Remember, leaving the coffee grounds to sit in the water for too long after the ideal brew time can lead to over-extraction, which means your coffee might start tasting bitter. Nobody wants that!
The Art Of Plunging The Grounds
Once your coffee has had its steeping time, it’s time to plunge. This is pretty straightforward, but there’s a gentle technique to it. You want to push the plunger down slowly and steadily. Don’t force it! If you feel a lot of resistance, it might mean your coffee grind is too fine, or you’re plunging too fast. The goal is to gently separate the grounds from the liquid coffee without stirring up all the sediment at the bottom. A slow, even press is key here.
Serving Your Freshly Brewed Coffee
As soon as you’ve finished plunging, it’s best to serve your coffee right away. If you’ve made more than you plan to drink immediately, pour the extra coffee into a separate carafe or thermos. Leaving coffee sitting in the plunger with the grounds at the bottom means it will continue to extract, and you’ll end up with a bitter, over-brewed cup. So, pour it out and enjoy that fresh flavor while it’s at its best!
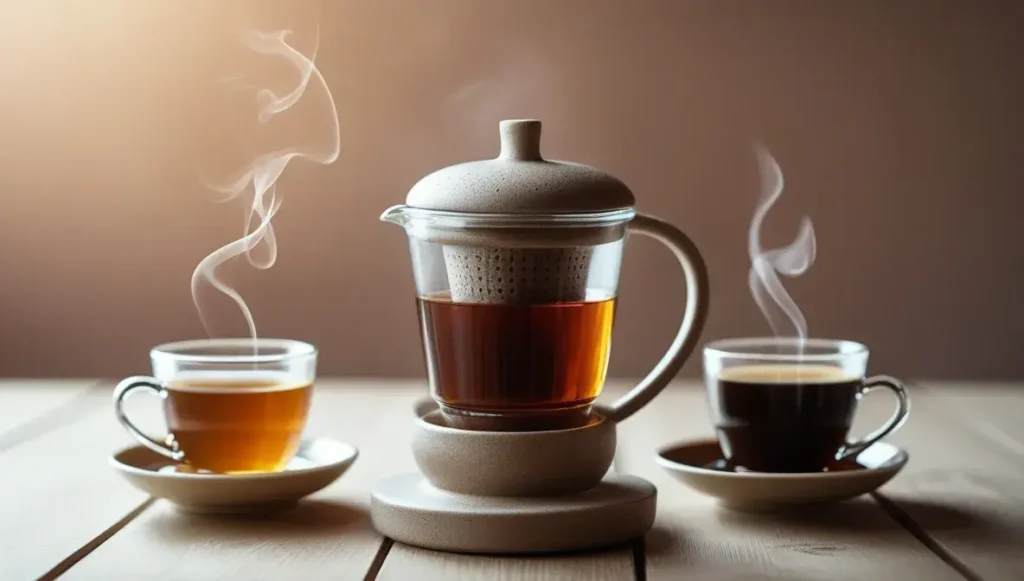
Think your plunger is just for coffee? Think again! This handy little gadget, often called a French press, is actually a fantastic tool for brewing loose-leaf tea. It’s a simple way to make a great cup, and it works surprisingly well for making loose leaf tea in a press. If you’ve got a 350ml plunger, it’s perfect for a single, fresh serving. It’s a really easy coffee and tea brewer, and honestly, it makes making loose leaf tea with a plunger a breeze.
Steeping Loose-Leaf Tea
Using your plunger as a tea maker with plunger instructions is straightforward. The key is to treat the tea leaves gently. You’re not trying to force anything; you’re just letting them unfurl and release their flavor into the hot water. It’s a bit different from how to use a coffee plunger, but the principle of steeping is similar. You want to give the leaves enough time to infuse, but not so much that they become bitter.
Preheat your plunger: Just like with coffee, a quick rinse with hot water warms up the glass and helps maintain the brewing temperature. Pour it out before adding your tea.
Add your tea leaves: A good starting point is about one teaspoon of loose-leaf tea per cup (around 8 ounces or 240ml). You can adjust this based on the tea type and your preference. Some teas, like white teas, might need a bit less, while heartier black teas might take a bit more.
Pour in hot water: Use water that’s hot but not boiling. For most teas, a temperature between 175°F and 205°F (80°C – 96°C) is ideal. Boiling water can scorch delicate tea leaves, especially green and white teas, leading to a bitter taste.
Achieving the Right Tea Infusion
This is where the magic happens. The brewing time is super important for getting the best flavor from your tea. Too short, and it’ll be weak. Too long, and it can get bitter, especially with certain types of tea. It’s all about finding that sweet spot. The metal filter in the plunger is great for catching most of the leaves, but you might get a few tiny bits in your cup, which is normal for this kind of brew.
Here’s a general guide for steeping times:
Tea Type
Water Temperature (°F)
Steep Time (Minutes)
White Tea
175-185
1-3
Green Tea
175-185
1-3
Oolong Tea
185-200
2-5
Black Tea
195-205
3-5
Herbal Tisane
205-212
5-7
Remember, these are just starting points. Don’t be afraid to experiment a little to find what tastes best to you. The best French press for tea is the one that makes your perfect cup.
Serving Your Plunger Tea
Once your tea has steeped for the recommended time, it’s time to press. Gently and slowly push the plunger all the way down. This separates the steeped tea leaves from the liquid. Don’t force it; if you feel a lot of resistance, you might have too many tea leaves or the grind might be too fine (though this is less common with tea than coffee).
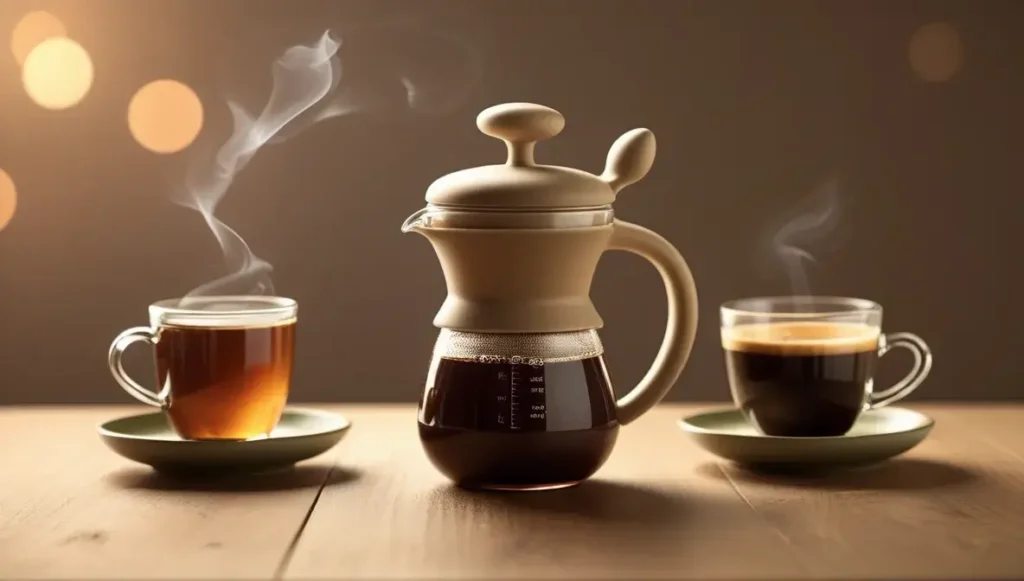
Pour your tea right away. Leaving it in the plunger after pressing can cause it to continue steeping, potentially making it bitter. This small coffee and tea maker is really versatile, making it a great option if you enjoy both hot beverages. It’s a simple way to make tea using a French press, and it’s a great alternative to a dedicated tea maker with plunger instructions.
Maintaining Your Plunger
Keeping your 350ml plunger clean is pretty straightforward, but it makes a big difference in how your coffee or tea tastes. Nobody wants stale coffee oils or tea leaves hanging around, right? A little bit of regular care means your brews will stay fresh and delicious.
Simple Cleaning Steps
After you’ve enjoyed your brew, the cleaning process shouldn’t take long at all. The key is to clean it soon after use.
Here’s a simple way to get it sparkling again:
Empty the Grounds: Carefully tip out the used coffee grounds or tea leaves. If you’re composting, this is a great way to add to your bin.
Rinse Thoroughly: Give the glass carafe and the plunger assembly a good rinse with hot water. This gets rid of most of the immediate residue.
Wash with Soap: Use a mild dish soap and warm water. Pump the plunger up and down a few times while it’s filled with soapy water. This helps to clean the mesh filter effectively.
Rinse Again: Make sure all the soap is completely rinsed away. You don’t want any soapy taste in your next brew.
Dry Properly: Let the parts air dry completely, or dry them with a clean cloth. Storing it dry helps prevent any funky smells or mold.
For a deeper clean, you can disassemble the plunger filter. It usually unscrews into a few parts. Just be gentle when taking it apart and putting it back together. This allows you to get into all the nooks and crannies where oils can build up.
Ensuring Longevity Of Your Plunger
Your plunger is a pretty simple device, but a few things can help it last for ages. Think of it like taking care of any kitchen tool you really like.
Avoid Harsh Abrasives: Stick to soft sponges or cloths. Steel wool or rough scrubbers can scratch the glass or damage the metal filter, which isn’t good for future brews.
Handle with Care: The glass carafe can be fragile. Always place it on a stable surface and avoid banging it against hard objects. If you’re washing it, do so over a sink or a padded mat.
Check the Seal: Over time, the rubber or silicone seal on the plunger might wear out. If you notice it’s not creating a tight seal anymore, it might be time to look for a replacement part. A good seal is important for a clean plunge and to keep grounds from escaping.
If you’re dealing with stubborn coffee oils that just won’t budge, a soak in warm water with a bit of baking soda can work wonders. Just make sure to rinse it out really well afterward. This gentle approach is often all that’s needed to refresh your plunger without any harsh chemicals. For general maintenance, a good rinse after each use is the most important step you can take.
Remember, a well-maintained plunger means better-tasting coffee and tea every single time. It’s a small effort for a big reward. If you’re looking for replacement parts or more cleaning tips, checking out resources on coffee maker maintenance can be helpful.
Enjoy Your Perfect Brew with a Brew Tea Coffee Plunger 350ml
So there you have it. Making a great cup of coffee or tea with your 350ml plunger is pretty straightforward once you get the hang of it. It’s not complicated, and you don’t need a lot of fancy gear. Just a bit of good coffee or tea, some hot water, and a few minutes of your time. Remember to get the grind right, use water that’s not too hot, and give it enough time to steep.
Whether you’re brewing for yourself in the morning or making a cuppa for a friend, this little plunger is a solid choice. Give it a try, play around with it a bit, and soon you’ll be making drinks that taste just how you like them, every single time.
Frequently Asked Questions
What exactly is a plunger coffee maker?
A plunger coffee maker, also called a French press, is a simple pot with a plunger and a metal filter. You put coffee grounds and hot water in the pot, let it sit for a bit, and then push the plunger down. This pushes the grounds to the bottom, leaving you with delicious coffee at the top.
What kind of coffee grounds work best?
For plunger coffee, you’ll want grounds that are medium-coarse, kind of like coarse sand. If the grounds are too fine, your coffee might taste bitter or be hard to push the plunger down. If they’re too chunky, the flavor might not come out as well.
How much coffee and water should I use?
A good starting point is about 60 grams of coffee for every 1 liter of water. For your 350ml plunger, that’s roughly 17 grams of coffee (about 2 to 3 tablespoons) for about 220ml of water. You can adjust this later to make it stronger or weaker.
How long should I let the coffee brew?
Most people let the coffee brew for about 4 minutes. If you like a stronger, bolder taste, you can let it sit a bit longer. For a lighter cup, try brewing for a minute less.
Can I use this plunger for tea too?
Absolutely! Your plunger works great for loose-leaf tea. Just add your tea leaves and hot water (make sure the water is the right temperature for your tea type), let it steep for the recommended time, and then press the plunger down to separate the leaves.
Why are there always a few coffee grounds in my cup?
That’s normal with a plunger! The metal filter lets some very fine coffee particles and oils through. This is actually what gives plunger coffee its rich flavor and full body. If you’re getting a lot of big grounds, your coffee might be ground too finely.
Black Tea Extract that is rich in natural theaflavins and polyphenols that help protect your body from free radicals, promoting overall immune health and well-being
Contains blended amounts of Fruits and Veggies. All natural, with whole foods, fruit and vegetable supplement.Perfect for everyone looking to live a healthier lifestyle.