What if I told you that earl grey tea ice cream can be made with just three ingredients? No ice cream maker, no fancy equipment, and surprisingly little effort required.
Here’s the thing: while store-bought versions like Van Leeuwen earl grey tea ice cream taste amazing, making your own london fog ice cream at home gives you complete control over flavor intensity and sweetness. The subtle bergamot notes and creamy texture rival any artisanal brand.
In this guide, I’ll walk you through everything you need to create this elegant tea ice cream. From selecting the right Earl Grey blend to achieving that perfect scoopable consistency, you’ll learn the simple techniques that make this earl grey ice cream recipe foolproof.
Ready to make your new favorite frozen dessert? Let’s begin!
What You Need for No-Churn Earl Grey Ice Cream
Building your earl grey ice cream recipe starts with gathering the right components. Unlike traditional ice cream that requires eggs and cooking, this no-churn method relies on specific ingredients that work together to create a creamy texture.
Earl Grey Tea Selection
Loose leaf Earl Grey delivers the best flavor for tea ice cream. You’ll need 3 to 4 tablespoons of tea leaves. The quality matters here. Look for Earl Grey made with organic bergamot oil rather than artificial flavoring. This natural bergamot creates a distinctively aromatic profile that sets apart homemade versions from generic grey ice cream flavors.
Want to skip the caffeine? Decaf Earl Grey works just as well without compromising the signature bergamot taste. I’ve found that loose leaf provides better control over steeping strength compared to tea bags.
Sweetened Condensed Milk
This ingredient does the heavy lifting in your london fog ice cream. One 14-ounce can provides all the sweetness needed while replacing the custard base found in traditional recipes. The high milk solid content helps prevent ice crystals from forming during freezing.
Don’t confuse this with evaporated milk. Sweetened condensed milk contains added sugar and has a thick, syrupy consistency. This specific formulation creates the creamy texture that makes no-churn ice cream possible.
Heavy Whipping Cream
You’ll need 2 cups of heavy whipping cream with a fat content of at least 36%. This fat percentage allows the cream to whip properly and hold air. The incorporated air makes your earl grey vanilla ice cream light rather than dense.
Keep your cream very cold before whipping. Some bakers freeze their metal mixing bowl for 15 minutes beforehand to encourage better whipping.
Optional Flavor Additions
Pure vanilla extract enhances the tea flavor without overpowering it. A teaspoon works well, though you can adjust to taste. A pinch of salt brings out the bergamot notes.
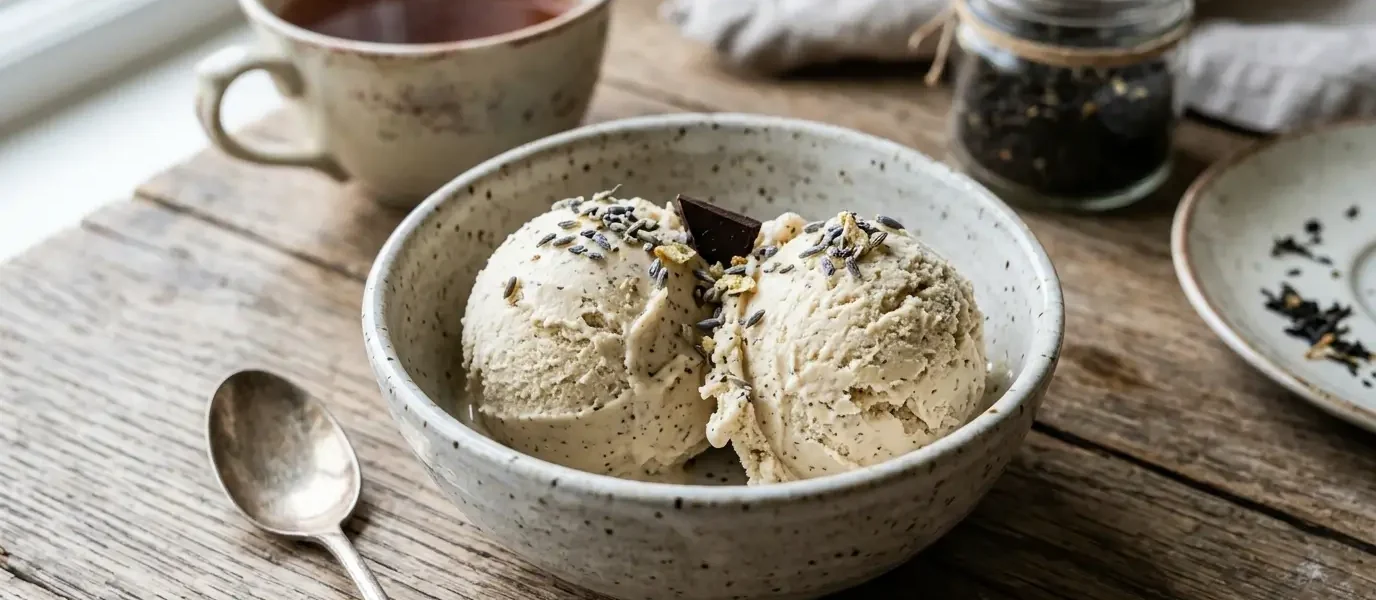
For earl grey lavender ice cream, add lavender flowers alongside the tea during steeping. Coconut cream and sweetened condensed coconut milk substitute for dairy versions if needed.
How to Make Earl Grey Tea Ice Cream Without an Ice Cream Maker
The actual process takes less than 15 minutes of active work. Most of your time goes to waiting while the mixture freezes solid.
Step 1: Brew Strong Earl Grey Tea
Pour 1 cup of heavy cream into a small saucepan and warm it over medium heat until steam rises from the surface. Remove from heat and add your Earl Grey tea leaves. For baking purposes, use approximately twice the amount you’d normally use for drinking. This means 3 to 4 tablespoons of loose leaf tea.
Steep the tea for 5 to 10 minutes. Don’t worry about bitterness. The strong flavors you want to avoid in a cup of tea actually work perfectly in frozen desserts. Once steeped, strain the mixture through a fine mesh sieve, pressing the leaves firmly to extract every bit of infused liquid. Set this earl grey cream aside to cool to room temperature.
Step 2: Whip the Heavy Cream
Pour the remaining 1 cup of cold heavy cream into a large metal bowl. Use a hand mixer or stand mixer to whip the cream on medium speed. The cream transforms through several stages: first forming trails, then soft peaks, and finally stiff peaks where the cream stands straight up when you lift the beaters.
Stiff peaks take approximately 5 minutes when whisking by hand. Watch closely if using an electric mixer. Medium to medium-high speed offers better control. Stop when peaks stand at attention without drooping. Going further will separate the cream into butter.
Step 3: Combine All Ingredients
In a separate large bowl, whisk together one 14-ounce can of sweetened condensed milk with the cooled tea-infused cream and 1 teaspoon vanilla extract. Add about half of your whipped cream to this mixture and fold it in gently using a spatula. This lightens the condensed milk base. Then add the remaining whipped cream and fold until just combined.
The folding motion preserves the air you worked to incorporate. Scrape from the bottom and lift over the top rather than stirring.
Step 4: Freeze Until Firm
Transfer your earl grey tea ice cream into a metal loaf pan for faster freezing. Press plastic wrap directly onto the surface to prevent ice crystals. Freeze for a minimum of 4 to 6 hours. For best texture, plan for 8 hours or overnight.
Tips for the Perfect Earl Grey Ice Cream
Small adjustments can elevate your earl grey tea ice cream from good to exceptional. These tips address common concerns and help you customize the recipe.
Achieving the Right Tea Strength
Steeping time determines flavor intensity. While the basic method calls for 5 to 10 minutes, longer steeping produces bolder results. Bring your dairy to a boil, then steep the leaves for a minimum of two hours. For even richer bergamot flavor, transfer the mixture to the refrigerator and let the tea continue steeping overnight. Cold-steeping in chilled dairy for up to a week creates a vivid, intense flavor profile.
Your tea-infused base should taste slightly stronger than you want the finished ice cream. Freezing mutes flavors, so err on the side of too much tea rather than too little.
Preventing Ice Crystals
Fat content makes the difference between smooth earl grey ice cream and icy disappointment. Sugar binds to water molecules and helps inhibit ice crystal formation. Pre-freeze your storage container and lid before adding the ice cream. Once frozen, place plastic wrap directly onto the surface before sealing. This barrier prevents air exposure and freezer burn.
Store your container in the back of the freezer below other items. Temperature fluctuates less there compared to the door.
Making it Dairy-Free
Full fat coconut milk combined with almond milk creates creamy dairy-free earl grey ice cream. Use unsweetened vanilla-flavored almond milk, or substitute cashew, soy, or rice milk. Oat cream works particularly well for plant-based versions. Replace sweetened condensed milk with coconut condensed milk for completely dairy-free results.
Texture Troubleshooting
If your ice cream freezes too hard, let it sit at room temperature for 10 to 15 minutes before serving. Small ice crystals that develop can be broken up by blending the ice cream briefly before serving. However, avoid letting it melt and refreeze repeatedly, as this degrades quality and creates larger crystals.
Proper storage extends the life of your earl grey tea ice cream while maintaining its smooth texture.
How to Store Your Ice Cream
Freezer-safe plastic containers with airtight lids work best for homemade ice cream. Rectangular containers freeze faster than deep ones and make scooping easier. Press plastic wrap directly against the ice cream surface before sealing the lid. This prevents air exposure and ice crystals from forming. Store your container upside down to reduce freezer burn.
Place your earl grey vanilla ice cream at the back of the freezer where temperatures remain stable. The door experiences temperature fluctuations that degrade quality. Set your freezer to 0°F or lower. Homemade ice cream tastes best within one to two weeks.
Best Serving Temperature
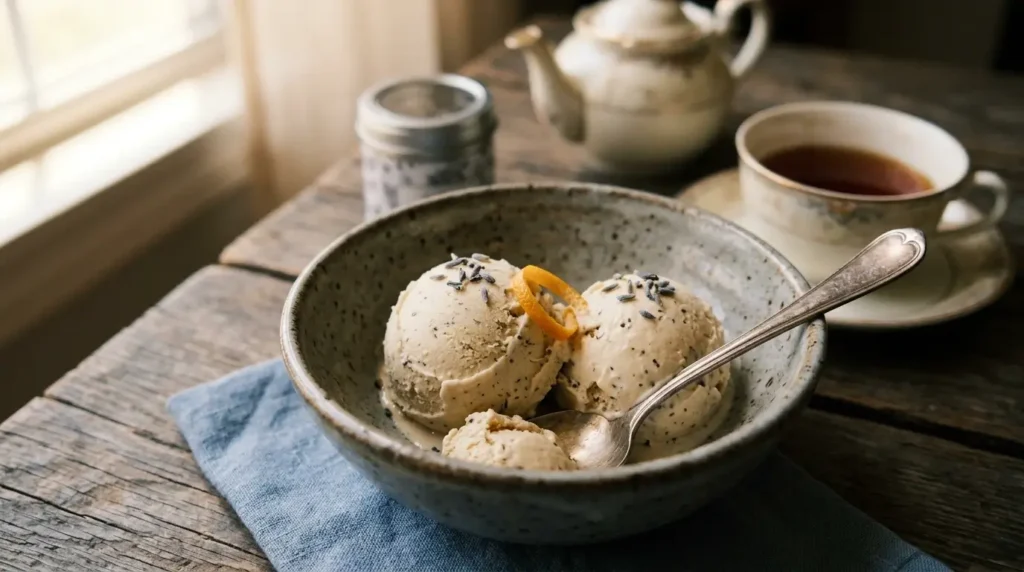
The ideal serving temperature ranges from 5 to 10°F or -10°C to -12°C. At this range, the ice cream scoops easily while maintaining a creamy mouthfeel. Move your container to the refrigerator 30 minutes to one hour before serving. Alternatively, leave it on the counter for 10 to 15 minutes.
Pairing Ideas
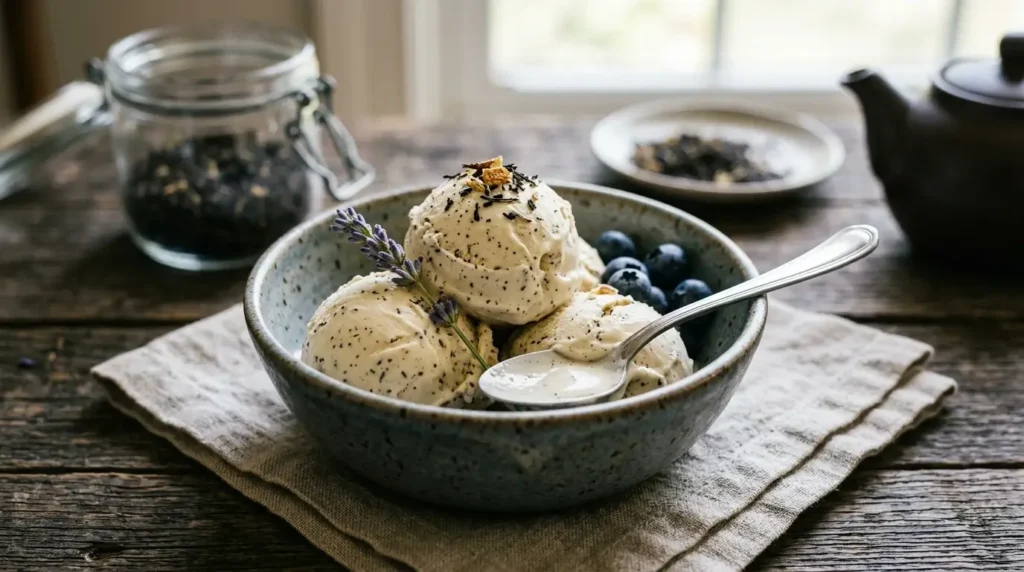
Serve earl grey ice cream with poached pears drizzled with syrup. Sprinkle lavender flowers on top for visual appeal. The bergamot notes complement chocolate desserts, toffee, and shortbread cookies.
Conclusion
You now have everything needed to create luxurious earl grey tea ice cream right in your kitchen. No ice cream maker required, just three simple ingredients and a little patience. Indeed, the hands-on time is minimal compared to the impressive results you’ll achieve.
Experiment with steeping times, adjust the bergamot intensity to your preference, and enjoy frozen dessert that rivals any artisanal shop. Your perfect scoop of homemade earl grey ice cream awaits!
FAQs
Q1. Can you make ice cream at home without an ice cream maker? Yes, you can easily make ice cream without an ice cream maker using the no-churn method. Simply whip heavy cream to stiff peaks, fold it into sweetened condensed milk along with your flavorings, and freeze the mixture for 4-6 hours until firm. This technique requires no special equipment beyond a mixing bowl and whisk or hand mixer.
Q2. What exactly is Earl Grey ice cream?Earl Grey ice cream is a tea-flavored frozen dessert made by infusing heavy cream with Earl Grey tea leaves. The tea’s distinctive bergamot oil creates an aromatic, sophisticated flavor profile. The result is a creamy ice cream with subtle citrus notes and the characteristic taste of Earl Grey tea, often enhanced with vanilla.
Q3. How long does homemade no-churn ice cream need to freeze? Homemade no-churn ice cream requires a minimum of 4-6 hours in the freezer to become firm enough to scoop. For the best texture and consistency, it’s recommended to freeze it for 8 hours or overnight. The ice cream should be stored in an airtight container with plastic wrap pressed directly on the surface.
Q4. What’s the best way to prevent ice crystals in homemade ice cream? To prevent ice crystals, press plastic wrap directly onto the ice cream surface before sealing the container, and store it in the back of the freezer where temperatures remain most stable. Using ingredients with higher fat content, like heavy cream and sweetened condensed milk, also helps inhibit ice crystal formation. Pre-freezing your storage container can further improve texture.
Q5. How should you serve homemade Earl Grey ice cream for the best texture? For optimal scooping and creaminess, let the ice cream sit at room temperature for 10-15 minutes before serving, or move it to the refrigerator 30 minutes to an hour ahead of time. The ideal serving temperature is between 5-10°F, which allows the ice cream to maintain its creamy texture while being easy to scoop.
Black Tea Extract that is rich in natural theaflavins and polyphenols that help protect your body from free radicals, promoting overall immune health and well-being
Contains blended amounts of Fruits and Veggies. All natural, with whole foods, fruit and vegetable supplement.Perfect for everyone looking to live a healthier lifestyle.